Last summer as we wrapped up a wonderful evening at the lake house, my nephew asked the question he inevitably always asks. “Auntie Kikie, can you set up a science experiment for us?”. I’ve become known by my kids and nephew for finding fun science experiments for toddlers and kids. In this case however, I wasn’t super prepared as we were just visiting this place and didn’t have a lot of supplies on hand. Believe it or not, I don’t travel with a bag of flour or packets of yeast (link to foam activity coming Summer, 2022) everywhere I go. So I had to think on my feet for this one.
Thankfully, after a brief raid of the cabinets, I was able to scramble together some minimal supplies. Have I mentioned I love activities that require next to 0 prep work?
Supplies
Saying that you need 4 items for this experiment is probably pretty generous. But we will count the cup that we need to have hot water in, bringing the count up a bit.
Skittles
Water
Basic, tap water will suffice for this. I start the experiment with hot water, and then will expand it depending on interest levels. So I would say maybe around 2 cups of water, although the exact measurement will depend on the size of your plate.
Dishes
You will need one white plate. The size can vary, but I like to go larger so you can fit more skittles around the edge of it. It should have a slight curve so that it can hold a very shallow pool of water.
For the water select a cup that can hold warm water and also pour easily.
Process
Start by introducing this activity to your children. Depending on the age, you can work on different concepts. For your youngest children, you can do counting, colors, and very basic hypothesis. The older he child, the more you can ask of them. What do they think will happen? Why? What are some variables you can introduce? Things like that.
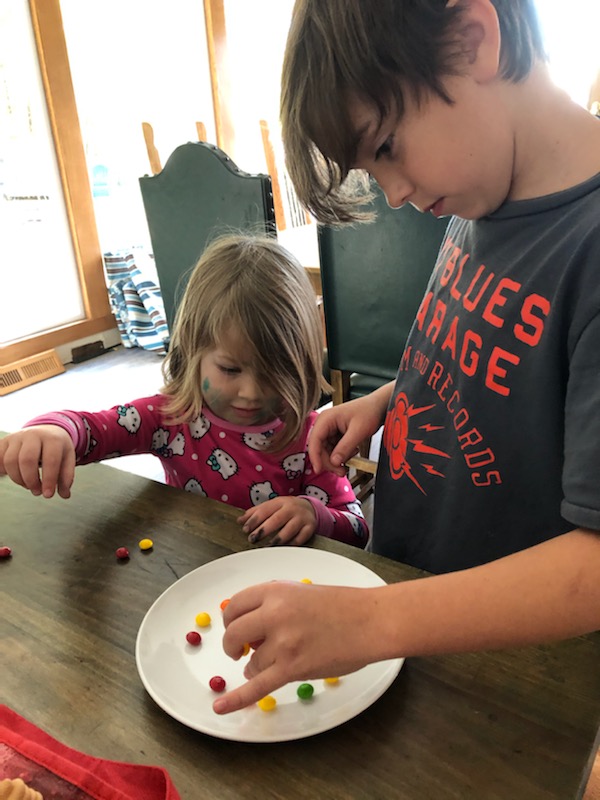
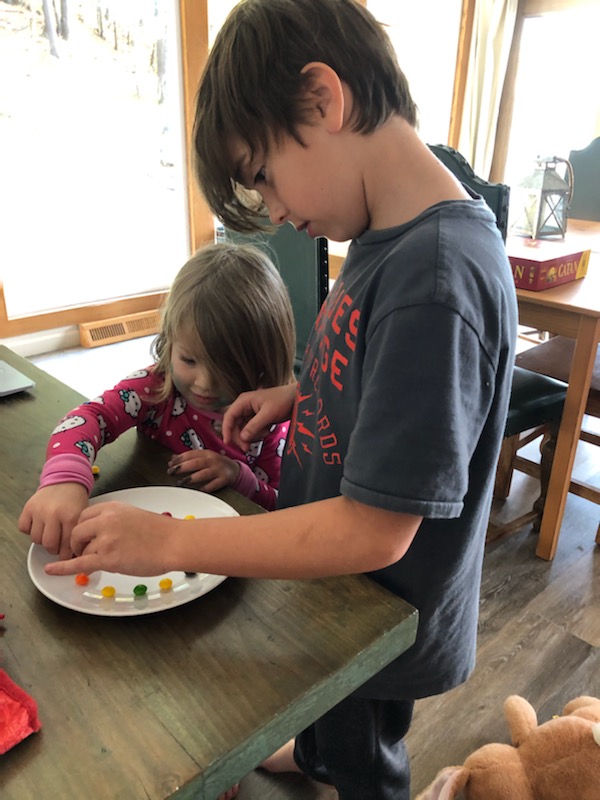
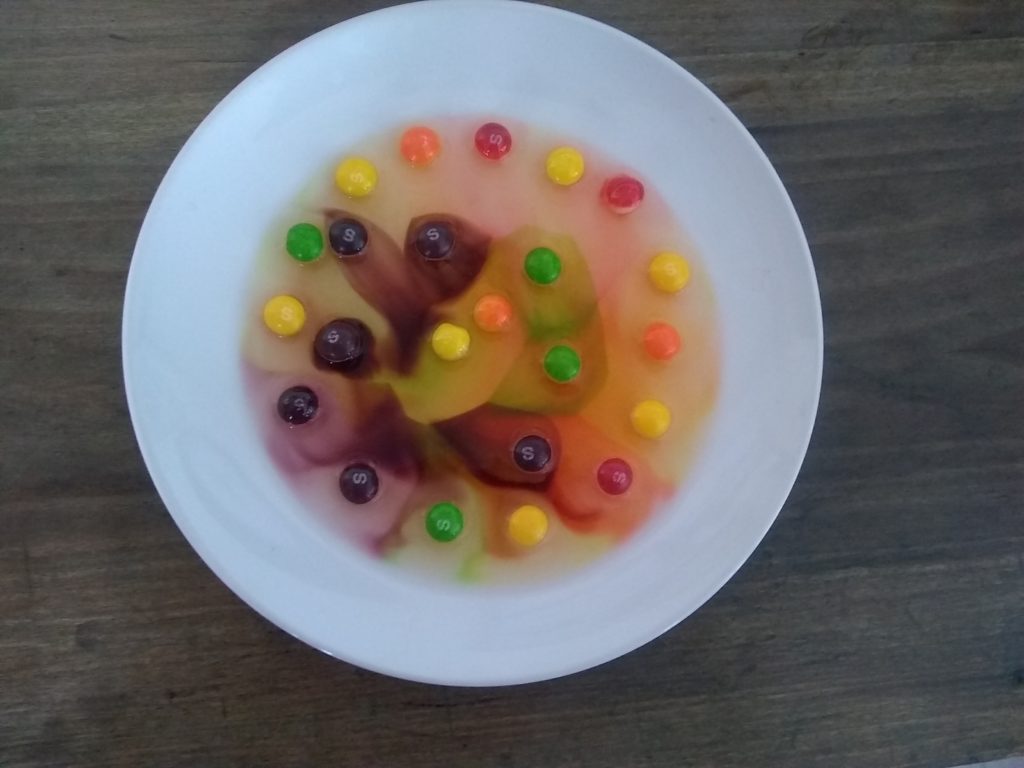
Then have your child arrange skittles in a round pattern on the edge of the plate. If you have a large enough plate, you can do a variation where you add a few in the middle as well.
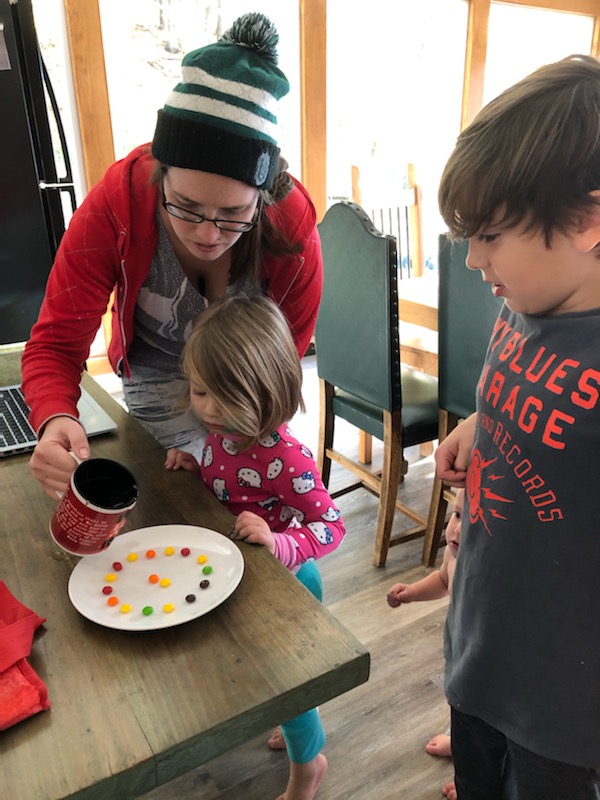
Fill your cup with hot water. Carefully pour the water into the middle of the plate so you do not disturb the skittles. Pour until the skittles are at least halfway submerged in the water.
Again, depending on how hot you make the water and the age of the children, you might have them pour it. This can be an experiment in and of itself, of how carefully must the water be poured so as not to disturb the skittles.
Watch patiently as the colors quickly diffuse into the water and start mixing together. At this point, the experiment is pretty well over. My children got excited about trying to mix the colors carefully. They tried using toothpicks to draw in the water and moving the skittles around carefully. What can your children come up with?
Expansion
If your children are anything like mine, this experiment has to be done more than once. As such, there is room to play with other concepts and experiment further. These are just a few ideas.
- Create a pattern or intentional color arrangement around the edge of the plate.
- Use water of different temperatures. Does it still work? Does it take longer?
- Use M&Ms instead of skittles.
- Use a liquid other than water.
- Place one skittle in cold water and one skittle in hot water and see which one dissolves first.

