


The Best Memberships to Have When Your Children Are Young
Updated May, 2025 I like to think of myself as...
Read More

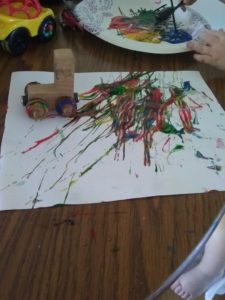


Toys and Supplies for the Early Years
Updated November, 2023 Through every holiday, birthday, or even just...
Read More

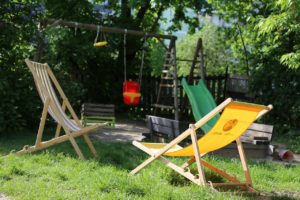
Creating Joyful Spaces: Unveiling the Best Backyard Playgrounds for Kids
In the rush of daily life, curating a sanctuary for...
Read More